How to Create a Collaborative Art Project in Your Classroom
16 November 2025
Art is the language of the heart, a symphony of colors, strokes, and imagination. But what happens when many hands come together to craft a single masterpiece? Magic! Collaborative art projects weave individual creativity into a vibrant tapestry of teamwork and expression.
If you’re a teacher looking for ways to foster creativity, cooperation, and critical thinking, a collaborative art project is the perfect solution. But how do you set it up? How do you ensure every student feels involved, valued, and inspired?
Let’s break it down step by step, so you can turn your classroom into a buzzing hub of artistic collaboration. 
Why Choose a Collaborative Art Project?
Imagine a puzzle—each piece unique, yet essential to the whole. That’s exactly what a collaborative art project is all about. It’s not just about painting or crafting; it’s about fostering a sense of community, building confidence, and teaching students the value of working together.Benefits of Collaborative Art
- Encourages teamwork – Students learn to listen, share ideas, and respect different perspectives.- Boosts creativity – The fusion of multiple artistic minds leads to something truly innovative.
- Strengthens problem-solving skills – Working through artistic challenges together enhances critical thinking.
- Creates a sense of ownership and pride – Every student plays a role in creating something meaningful.
- Breaks barriers – Art speaks louder than words, helping students express emotions and ideas freely.
Step 1: Choose the Right Project
Start with the big question—what kind of art project will best suit your students? The key is to pick something engaging, achievable, and open-ended enough to invite different interpretations.Ideas for Collaborative Art Projects
- Mural Painting: Let students contribute to a giant canvas or wall with a shared theme.- Classroom Quilt: Each student decorates a square, then all pieces are stitched or glued together.
- Paper Collage: Individual contributions form a bigger image—like a mosaic of creativity.
- Exquisite Corpse Drawing: A surrealistic concept where students draw different sections of a piece without seeing the full design.
- Interactive Sculptures: Students create small 3D art pieces that come together as one installation.
Pick something that aligns with your classroom environment, student age group, and available resources. 
Step 2: Set a Theme and Vision
A great project starts with a great idea. Select a theme that resonates with your students—something they can connect to emotionally and intellectually.Theme Ideas to Spark Inspiration
- "Our Dream World" – A land built from students' wildest imaginations.- "Nature’s Beauty" – A tribute to the environment using mixed media.
- "Unity in Diversity" – Celebrating cultures, traditions, and personal stories.
- "A Journey Through Time" – A historical or futuristic artistic adventure.
- "What Makes Us Unique" – A self-exploration turned into a collective masterpiece.
Once you’ve got a theme, discuss the vision with your students. Let them contribute ideas—after all, this is a shared experience! 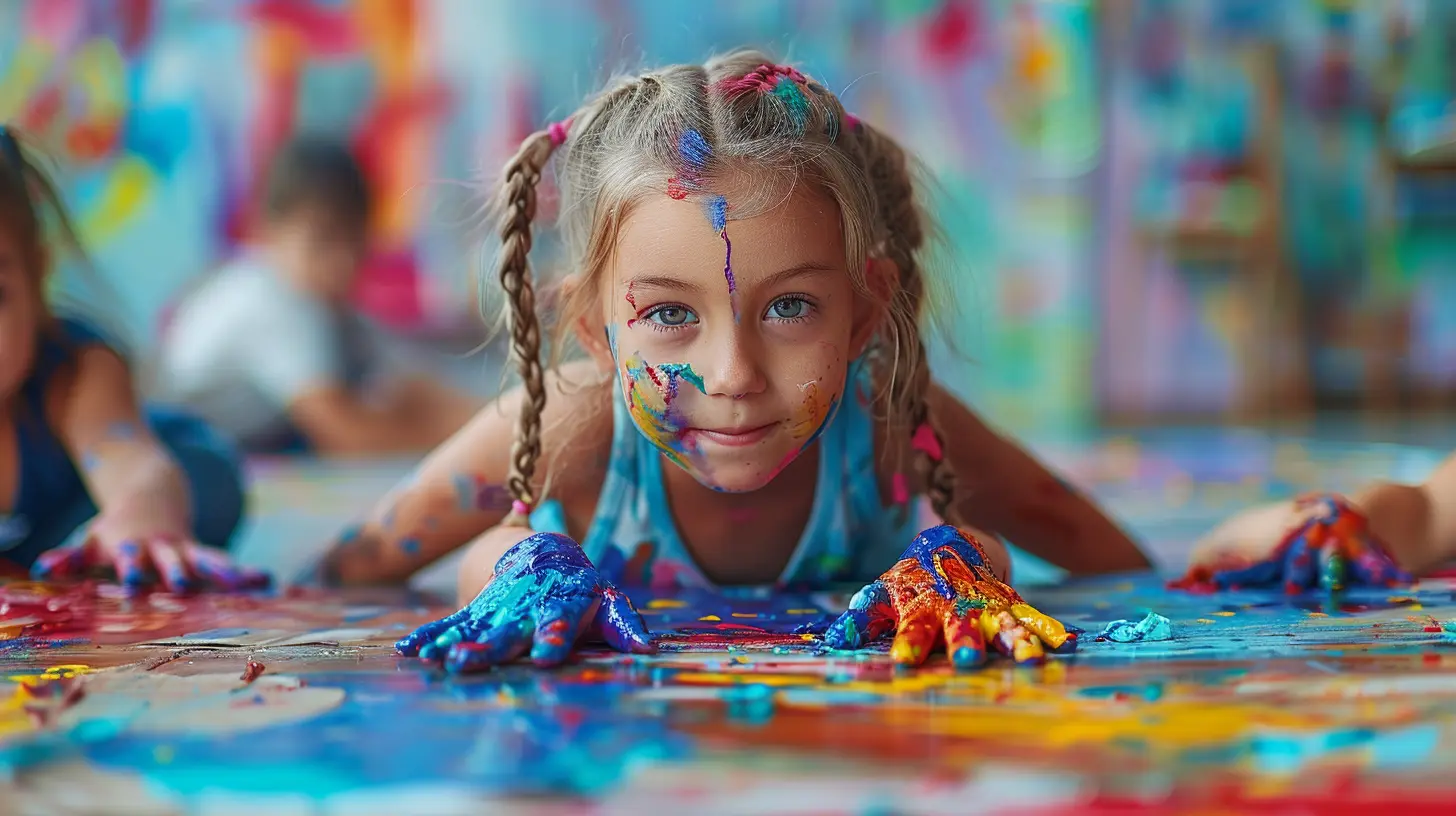
Step 3: Gather Materials and Assign Roles
Now that the foundation is set, it’s time to gather supplies. Depending on the project, you might need paints, paper, fabric, recycled materials, or even digital tools if you’re working on a virtual piece.Assigning Roles for Engagement
Dividing tasks ensures every student has a role to play:- The Visionary – Helps develop the overall design.
- The Sketcher – Outlines the initial shapes and forms.
- The Detailer – Adds fine details, textures, and finishing touches.
- The Coordinator – Ensures smooth communication and organization.
- The Critic – Offers constructive feedback throughout the process.
This way, students feel responsible for their part while collaborating toward the final masterpiece.
Step 4: Facilitate Collaboration
This is where the magic happens! Encourage students to share ideas, interact, and build on each other’s creativity. It’s crucial to establish a judgment-free zone where every effort is valued.Pro Tips for a Smooth Collaboration
- Foster Open Discussions – Pause periodically for group discussions on progress and adjustments.- Problem-Solve Together – If something isn’t working, brainstorm solutions as a class.
- Encourage Peer Feedback – Let students appreciate each other’s contributions.
- Rotate Roles if Necessary – This keeps engagement levels high and offers new learning experiences.
Remember, the journey is just as important as the end product. Celebrate the process!
Step 5: Assemble and Display the Artwork
Once every piece is complete, it’s time to bring everything together. Depending on your project, this could mean gluing, stitching, arranging, or even digitally merging elements.Showcasing the Final Masterpiece
- Classroom Gallery: Transform a wall into an exhibition space.- School-Wide Showcase: Display the artwork in hallways or common areas.
- Community Event: Present the piece during a school function.
- Virtual Exhibition: Share photos or digital versions online.
Let your students present their work, explaining their contributions and the meaning behind them. This builds confidence and gives them ownership over their creation.
Step 6: Reflect and Celebrate
Art isn’t just about the finished product—it’s about what students learn along the way. Wrap up with a reflection session.Reflection Questions to Discuss
- What did you enjoy most about this project?- How did collaboration make the project better?
- Did you face any challenges? How did you overcome them?
- What did you learn about cooperation and teamwork?
- If you could do it again, what would you do differently?
End with a celebration. Whether it’s a small applause session, certificates of participation, or a simple moment of admiration, let students feel proud of what they’ve created together.
Final Thoughts
Collaborative art projects are more than just creative exercises; they are powerful life lessons in teamwork, patience, and self-expression. They remind students that art, like life, is best when shared.So gather your paints, sketchbooks, and enthusiasm—because the next masterpiece in your classroom isn’t made by one, but by many. And that’s where the true beauty lies.
all images in this post were generated using AI tools
Category:
Art EducationAuthor:

Olivia Chapman
Discussion
rate this article
1 comments
Zarev Flores
Why not turn your classroom into a kaleidoscope of creativity? Forget the paintbrushes—how about using spaghetti? Just kidding! But seriously, collaboration can turn ordinary art into extraordinary masterpieces. Let’s get messy!
November 16, 2025 at 3:47 AM
Olivia Chapman
Absolutely! Embracing unconventional materials like spaghetti can spark creativity and collaboration in the classroom. Let’s inspire our students to think outside the box and make art together!