Teaching Sculpture: Hands-On Tips for Educators
16 December 2025
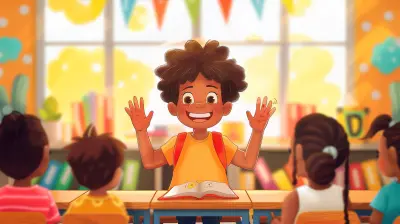
Sculpting is one of the most exciting and rewarding art forms out there. It gives students the chance to create something real, something they can hold, touch, and shape with their own hands. But teaching sculpture? That’s a whole different challenge.
If you're an educator looking to introduce sculpture into your classroom, you might be wondering: Where do I start? What materials should I use? How do I keep students engaged?
Don't worry—I’ve got you covered! In this article, we’ll dive into practical, hands-on tips to make your sculpture lessons fun, engaging, and unforgettable.
Why Teach Sculpture?
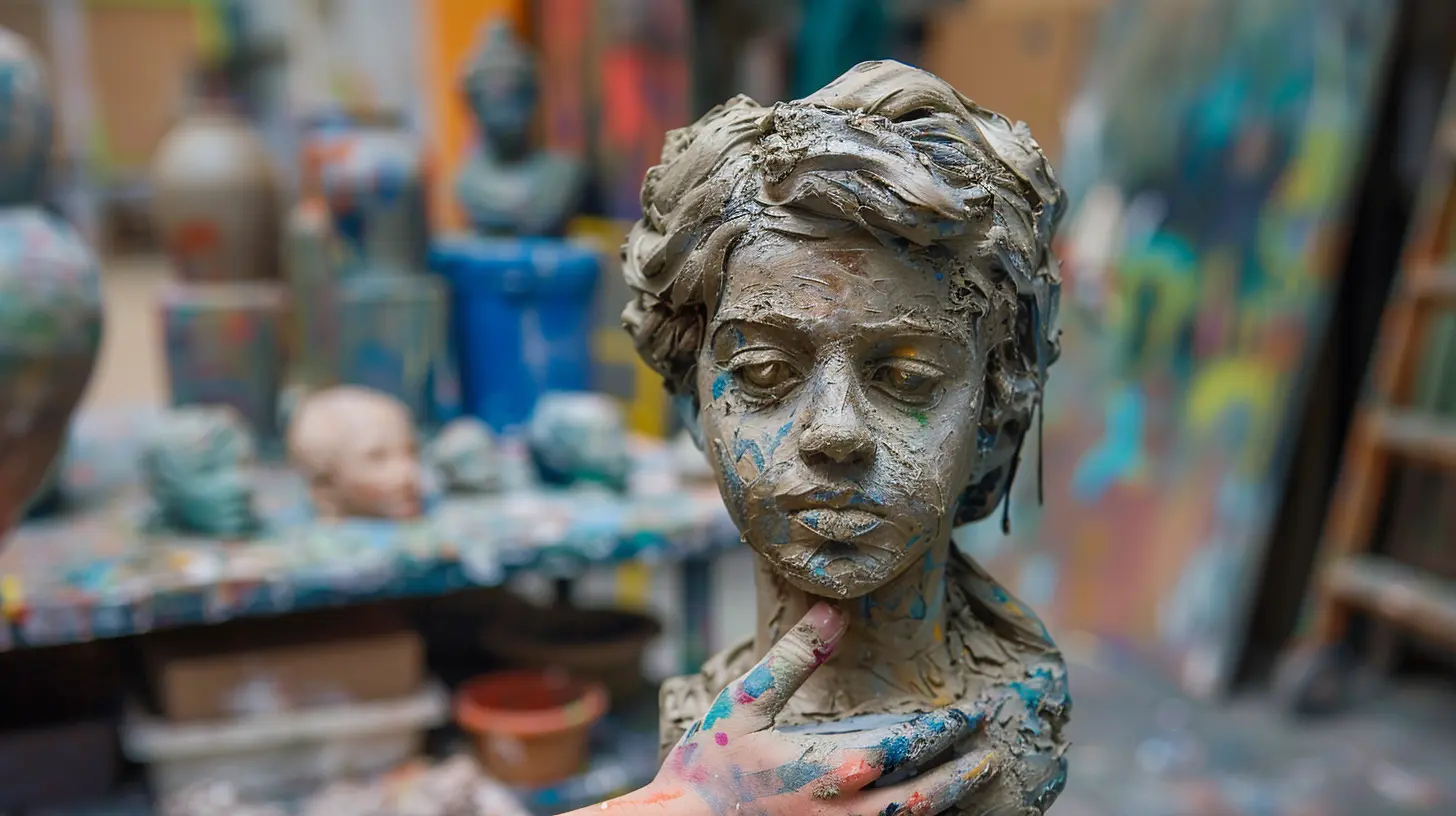
Sculpture isn't just about molding clay or carving wood. It’s an art form that enhances creativity, problem-solving, and even motor skills. Plus, it’s perfect for students who struggle with traditional drawing or painting.Think about it—some kids just aren’t comfortable with a pencil and paper. But give them a lump of clay? Suddenly, they're in their element!
Besides, there’s something magical about turning a block of nothing into something meaningful. It’s like watching imagination come to life! 
Setting Up Your Sculpture Classroom
Before jumping into the creative part, let's talk about setting up your space. Unlike drawing or painting, sculpting can get messy, so preparation is key.1. Choose the Right Work Area
- Pick a space that’s easy to clean (trust me, you don’t want clay dust in your carpet).- Cover tables with plastic sheets or butcher paper.
- Have a sink nearby for easy handwashing (or, at the very least, some wet wipes).
2. Stock Up on Essential Materials
What you need will depend on what kind of sculptures you're making. Here are some must-haves:- Clay (air-dry or kiln-fired, depending on your setup)
- Sculpting tools (plastic knives, wooden modeling tools, wire tools, etc.)
- Wire armatures (for more advanced projects)
- Plaster, paper mache, or foam for alternative techniques
- Aprons and gloves (especially for younger students)
3. Organize for Easy Access
Make sure materials are easy to grab. Use bins, trays, or shelves to keep things tidy. The last thing you want is students rummaging through a messy supply pile while their creativity is calling!
Teaching Sculpture: Step-by-Step Approach
Alright, now that we’ve got our space set up, let's dive into how to teach sculpture effectively.1. Start with the Basics
Before students jump into creating, they need to understand some fundamentals:- Shape and form – Unlike drawing, sculpture exists in three dimensions.
- Balance and structure – Teach students how to make sturdy sculptures that don’t collapse.
- Textures and details – Help them explore different surface finishes.
A simple way to start? Give them a ball of clay and ask them to create basic shapes—spheres, cubes, cones. This helps them get comfortable with handling the material.
2. Introduce Different Techniques
There are multiple ways to create sculptures. Introduce each method gradually:- Additive Sculpture – Building up a form by adding material (like clay modeling).
- Subtractive Sculpture – Carving away material (think wood or soap carving).
- Assemblage – Combining different objects to make a sculpture (perfect for found-object art).
Let students experiment with each to see which technique suits them best.
3. Keep It Hands-On and Interactive
Sculpture is all about touch. The more hands-on the experience, the better. Here’s how to make lessons engaging:- Demonstrate each step—but don’t overdo it. Let students figure things out on their own.
- Give them creative freedom—instead of rigid projects, offer open-ended prompts like "Create a creature from your imagination."
- Encourage teamwork—group projects can make 3D art even more exciting!
Common Challenges and How to Overcome Them
Teaching sculpture comes with its fair share of challenges. Here are a few common ones (and how to tackle them):1. “My sculpture keeps falling apart!”
Solution: Teach students about armatures. Using wire or foil inside clay can help support their structures. If using air-dry clay, encourage them to build in stages—letting parts dry before attaching more.2. “I don’t know what to make.”
Solution: Sometimes, too much freedom can be overwhelming. Offer simple prompts like:- "Create an animal that doesn’t exist."
- "Sculpt a self-portrait—but as a superhero."
- "Build a miniature city."
Giving a fun theme can help break creative blocks.
3. “Sculpting is too hard!”
Solution: Start simple. Instead of jumping into full figures or detailed designs, begin with abstract forms or basic textures. Let students feel success early on to build confidence.Encouraging Creativity and Expression
While technique is important, creativity is key. Here are some ways to spark originality in your students:- Show famous sculptures – Share works by Michelangelo, Rodin, or contemporary sculptors for inspiration.
- Tell stories – Encourage students to create sculptures that represent emotions or personal experiences.
- Mix materials – Let them combine clay with wire, fabric, or even everyday objects.
Most importantly, praise their efforts, not just the results. Art is about expression, and every piece—no matter how rough—deserves recognition.
Wrapping Up: The Joy of Sculpture
Teaching sculpture might have its challenges, but trust me—it’s worth it. Seeing students light up when they create something with their own hands? That’s the real reward.Whether they’re sculpting simple shapes or ambitious masterpieces, the skills they gain—problem-solving, creativity, patience—will stay with them for life.
So go ahead, roll up your sleeves, and start sculpting a new generation of artists!
all images in this post were generated using AI tools
Category:
Art EducationAuthor:

Olivia Chapman
Discussion
rate this article
2 comments
Matilda McClendon
Thank you for sharing these practical tips for teaching sculpture! Your insights on hands-on techniques and fostering creativity will undoubtedly inspire educators to engage their students in meaningful and enjoyable artistic experiences.
January 8, 2026 at 3:58 AM
Olivia Chapman
Thank you for your kind words! I'm glad you found the tips helpful for inspiring creativity in the classroom.
Brigitte Curry
Empower creativity! Hands-on learning inspires true artistry.
December 16, 2025 at 12:31 PM
Olivia Chapman
Absolutely! Hands-on learning truly unlocks creativity and fosters a deeper connection to the artistic process.